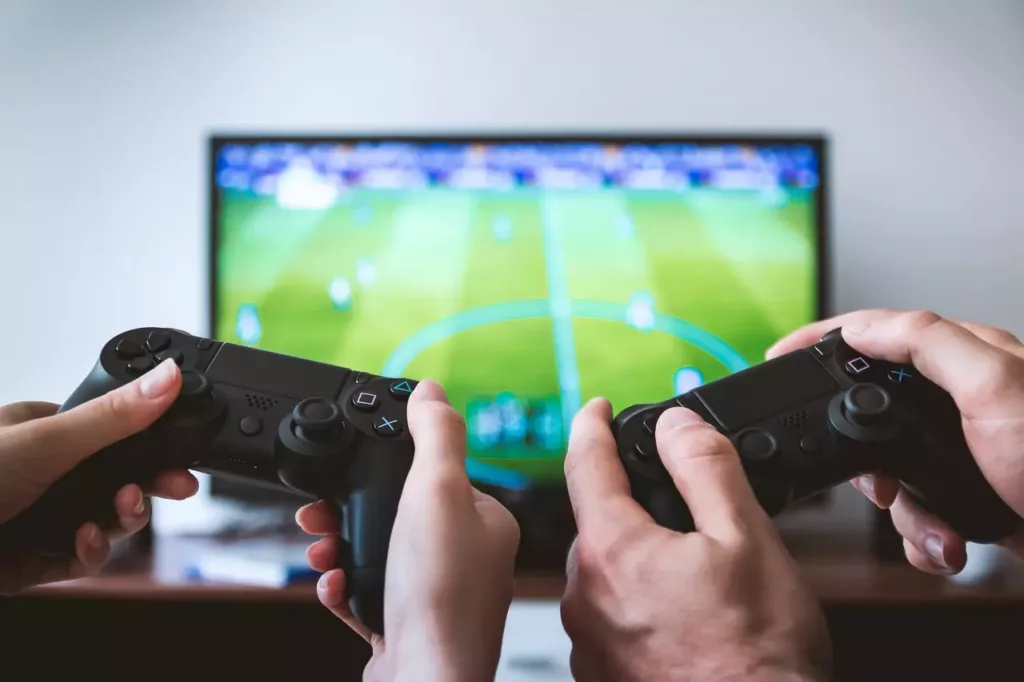
Step-By-Step: How to Connect a Bluetooth Mic to a PS4
It’s possible to connect a standard Bluetooth mic or headphones to a PS4. However, it can be frustrating if you don’t follow the right steps.
Some features are missing in PlayStation 4 or PS4, but fortunately, Bluetooth isn’t one of those. However, this console doesn’t support all Bluetooth microphones, headsets, and other audio devices.
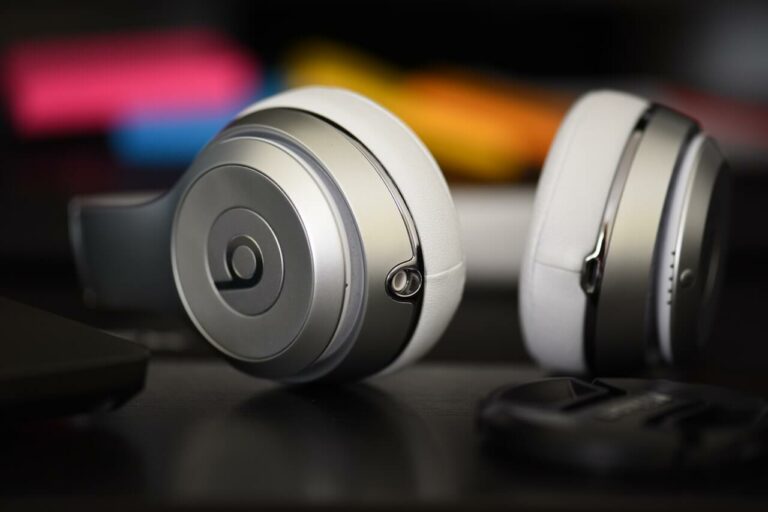
If you’re a gamer, then you’d already know that a headset with a microphone is critical to own your competitive multiplayer games. Not only does it provide you with an immersive gaming experience, but it also improves your overall gaming performance. A branded headset with a microphone compatible with PS4 can do the trick. Just follow the easy steps mentioned in part one of this post to get started.
On the other hand, connecting a non-compatible Bluetooth device to PS4 can be a difficult process. If you own such an audio device, there’s nothing to worry about! I’ve also compiled a list of steps in part two and three of this guide that’ll allow you to connect any Bluetooth device to PS4.
Now your favorite video games on PS4 are going to sound epic!
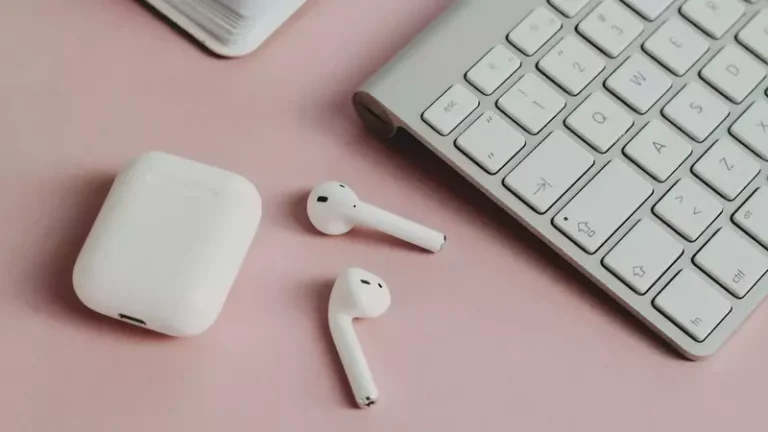
Why Use A Bluetooth Mic or Headset?
Having too many cables and wasting time to untangle them can be very annoying for an avid gamer. A Bluetooth mic eliminates this hassle and gives you more time for gaming. In addition, there’s no point in spending extra cash to buy a PS4-compatible or wired headset with a microphone if you already have a decent pair ready to go.
To put it simply, using a Bluetooth audio device is a pleasant and hassle-free experience.
Part One – Connecting PS4-Compatible Mic
You’ll be able to connect your Bluetooth headphones with a mic to your PS4 easily if you own one of Sony’s official products. You can read the information on the headset box to find whether they’re PS4 compatible or not.
Follow the steps listed below to connect your compatible Bluetooth device with PS4.
Step 1: Start the Pairing Operation
You can put most Bluetooth devices in pairing mode by holding down the power button for several seconds. However, it can vary from device to device, and you’ll need to read the manual in order to start the pairing operation.
It’s also important to note that microphones and headsets often have a nice little flashing LED that blinks when it’s in pairing mode. The blinking light also means that your device is now discoverable.
Step 2: Open Your PlayStation 4 Settings
Turn your PS4 on and log in to open the “Home Screen.” Now you’ll need to use the analog stick of your controller to open the “Menu Bar.” From there, you’ll need to go to the extreme right-hand side to select the “Settings” option.
The “Settings” page will have multiple options, and you’ll need to scroll down and select the “Devices” option. The system, now, will take you to another page, and you’ll need to select the “Bluetooth Devices” option.
So, the path will be:
“Settings” > “Devices” > “Bluetooth Devices”
Step 3: Complete the Connection Process
The name of your Bluetooth device (which is already in the pairing mode) should appear on your display. You might also see a list of other Bluetooth devices that you have connected to your console previously.
Once your device shows up, you’ll need to select it, and the PS4 will ask you if you want to register it or not. Choose “Yes” to complete the process.
Within a few seconds, you’ll get the “Success” message which means you’re good to go. Now all you need to do is to hop into your favorite game to enjoy your wireless experience.
Note: It might take a while for your Bluetooth mic to show up. If it doesn’t, then you might have a non-compatible device. In that case, you’ll need to follow the steps that I’ve listed in part two below.
Part Two – Connecting a Non-Compatible Mic
If you have a non-compatible Bluetooth mic or headset, you’ll need to purchase a third-party Bluetooth adapter. You can also buy a combo that comes with both a Bluetooth dongle and microphone audio adapter receiver if you have a separate microphone and headset.
The advantage of these invaluable adapters is that they allow you to pair with any Bluetooth device. You’ll need to plug the dongle into your PS4 USB slot and the microphone audio receiver into your PS4 controller’s 3.5 mm jack.
Step 1: Set Up Audio Adapter Receiver or Bluetooth Dongle
Insert the audio receiver into the PS4 controller’s audio jack. Some audio adapters come with a LED light that blinks to let you know if they’re connected. Plug the dongle into your PS4’s free USB port located on the front side, and it’ll start blinking if it has an LED.
Step 2: Open Your PlayStation 4 Settings
Turn your PS4 on and sign in to your account to open the “Home Screen.” Use the analog stick of your controller to open the “Menu Bar.” Now, you’ll need to go to the extreme right-hand side to select the “Settings” option.
From the multiple options available on the “Settings” page, choose the “Devices” option by scrolling down and then tap on the “Audio Devices.”
If you’re using a separate microphone, ensure it’s listed as your “Input Device.” You can hover over this option to change the input device by tapping your controller’s “X” button if it’s not listed by default. In this case, your headset should be listed as the “Output Device,” and you can perform the same action to change it if needed.
If you’re using a pair of headphones with a built-in microphone, then your “Input Device” will be the same as your “Output Device.”
Pro Tip – The “Input Device” refers to the microphone that you’ll use to communicate with your friends while gaming. On the other hand, the “Output Device” refers to the speakers that offer audio feedback.
Step 3: Adjusting Volume
You might need to use a bit of guesswork here by experimenting with setting the volume correctly. At first, I recommend you to set the volume somewhere around halfway as a start. If you need to change it according to your preferences, you can always return to the “Audio Devices” option.
Once done, you’ll need to select the “Output to Headphones” (the last option in the “Audio Devices” menu) and tap on the “All Audio” option.
Step 4: Connect Your Bluetooth Device to Dongle or Audio Receiver
All the steps of part two mentioned above will allow you to make your Bluetooth mic or headset behave just like compatible devices do. It means you’ll only need to read the manufacturer’s instructions to find out how to make your non-compatible Bluetooth device discoverable and link it to the adapter.
Part Three – Using PS4 Remote Play App
If you don’t want to use third-party dongles and adapters, then you’re in luck. Sony offers the PlayStation 4 Remote Play app that can be used to access the PS4 console through a WIFI connection.
You’ll need to use your smartphone’s mic to communicate with your fellow gamers. It’s important to note that this method might not work with some devices and games. You can follow the steps listed below to complete this Bluetooth connection process.
Step 1: Download and Install PS4 Remote Play App
First, you’ll need to download and install the PlayStation 4 Remote Play App. It’s available for both Android and iOS, and you can get it for your smartphone from Google Play Store and Apple App Store, respectively.
Step 2: Enable Remote Play
The second step is to enable remote play, and you’ll need to go to the “Settings” menu of your PS4. Now, you’ll need to scroll down and choose the “Remote Play Connection Settings.”
The next page will have the “Enable Remote Play” option with a little checkbox on the right-hand side, and you’ll need to make sure that it’s selected.
Step 3: Add Device
The second option in the “Remote Play Connection Settings” menu will be the “Add Device,” and you’ll need to tap on that. It’ll provide you with an 8-digit code that’ll be applicable for 300 seconds.
Now you’ll need to open the Remote Play app on your smartphone. After signing in, you’ll need to tap on the “Start” button. The application will automatically try to find your PS4 that can take a while to complete. You can also tap on the “Register Manually” button to enter the 8-digit code manually to use your smartphone as a mic.
Note: Depending upon the network connection and your smartphone model, you might experience a little audio lag.
Final Words
That’s how you can connect any Bluetooth device to your PlayStation 4, whether it’s a microphone or a headset.
Now you can start gaming without worrying about the flimsy cable connected to your PS4 controller all the time. I think most of you will agree that Bluetooth experience is much nicer than managing a clutter of cables.

Espen
Espen is the Director of ProPairing and has written extensively about Bluetooth devices for years. He is a consumer product expert and has personally tested Bluetooth devices for the last decade.