How To Connect A Wireless Mouse To Your Laptop? (Explained!)
This site contains affiliate links to products, and we may receive a commission for purchases made through these links.
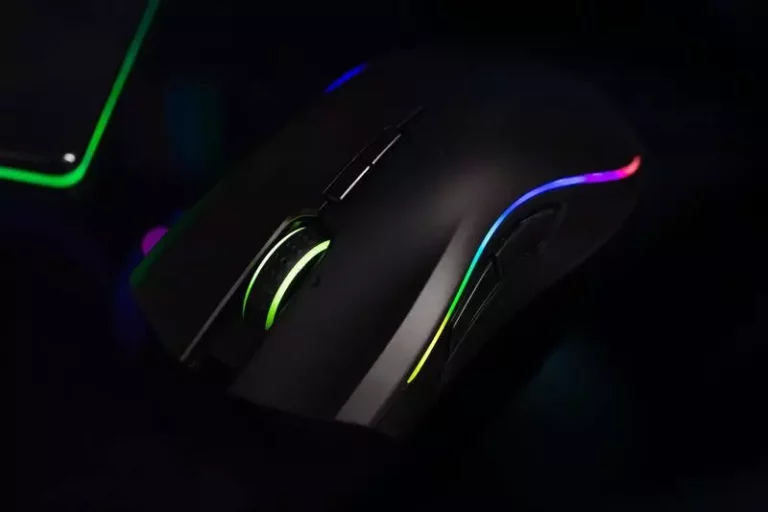
A wireless mouse can save up room around your computer and is a better alternative to using a PC’s directional pad. Wireless mice work the same way as wired mice; however, they don’t have a cord.
So, how do you connect a wireless mouse to your computer?
On Windows 10, follow these steps: Add a Bluetooth or other device by going to Settings > Devices > Bluetooth & other devices > Add Bluetooth or other devices. If you have a MAC, start by setting your Bluetooth mouse in pairing mode, then select the Apple icon, then System Preferences > Bluetooth.
In this post, you’ll learn how to connect a wireless mouse to your PC and Mac step by step. These instructions work with any brand of wireless mouse.
1. How to Connect a Wireless USB Mouse Via USB Port
A Bluetooth mouse is equipped with a tiny receiver that connects to it. The receiver is connected to the pc through a USB port.
- Check to see if your laptop is compatible with a wireless mouse. The majority of wireless mice use Bluetooth technology. A Bluetooth wireless mouse can be used with any laptop that has Bluetooth connectivity.
- Insert the receiver into the computer’s USB port.
- Windows or macOS will automatically search for and download the required drivers when you connect the Bluetooth receiver to your computer. Your computer may need to connect to the Internet depending on the mouse type for the drivers to be loaded automatically.
- Check to see if the mouse has batteries or is fully charged.
- After that, check to see if the mouse is turned on. A bottom-mounted on/off switch is common in several wireless devices.
2. Connecting a Wireless Mouse to a Windows 10 Computer
Check to see if your mouse is in pairing mode. If you’re not sure how to activate the Bluetooth pairing settings on your wireless mouse, refer to the manuals that came with it.
- Select Devices from the Settings app ( Press Win+I as a shortcut).
- Click Bluetooth & other devices from the left sidebar.
- When asked, select “Bluetooth” as the type of device you’re installing.
- Follow the add-device wizard’s instructions to set up the device. Pairing mode must be enabled on the wireless mouse. Windows recognizes the mouse and installs the necessary drivers.
3. How to Setup a Wireless Mouse on a Mac
1. If your wireless mouse is not already in pairing mode, turn it on. In most cases, a light will be turned on or blinking to signify that it is ready to connect. Click on the Apple menu.
2. On your Mac, click the silver symbol with the gear cog to open the “System Preferences” app.
3. Select “Bluetooth” from the drop-down menu.
4. The mouse should display in the “Devices” section. Click the “Connect” button.
5. The word “Connected” will show next to the device’s name, indicating that the mouse has been connected with your Mac and is set to use.
4. Wireless Mouse Considerations
Be Within Range When Using A Wireless Mouse.
Most wireless mice can only communicate with the USB receiver at a short distance. As a result, put yourself and your mouse near your computer. If you’re using an older wireless mouse, it’s also a smart idea to clear any obstacles from the receiver’s path.
Although a Bluetooth mouse can be used up to 33 feet away from your computer, putting it out of range may necessitate re-pairing.
Batteries are required for the wireless mouse.
A low battery can end up causing slow or unstable cursor behavior and prevent your wireless mouse from connecting to your pc. For a wireless mouse that doesn’t have removable batteries, you’ll need extra batteries or a charging cable.
The number of linked Bluetooth devices supported by each mouse varies.
Some Bluetooth wireless mice can only connect to one computer at a time. Other variants can accommodate up to three devices. If you’re traveling with a single mouse but two devices, such as a laptop and a Windows tablet, choose a Bluetooth mouse that can run both without requiring re-pairing.
Wireless mice and associated USB dongles have been known to sprout legs on occasion.
If your computer needs a USB dongle, go for one that has a low profile and can be permanently connected into a USB slot. Inside a laptop bag, bigger dongles may slip off or become broken.
Bluetooth drivers are loaded at different times in the starting sequence on different machines.
If you need to debug a computer that won’t start, you might discover that your Bluetooth mouse isn’t loaded before the computer crashes. Since USB drivers typically load before wireless drivers, fixing a faulty PC using a wired mouse may be more effective.
5. FAQs
Is it true that wireless mice lose their functionality with time?
Occasionally, the mouse’s signal is lost by the receiver. You may fix this by removing the receiver and replacing it in the port.
What is the expected lifespan of a mouse?
The mouse could endure many years if you take great care of it and keep it from falling.
What should I do if my wireless mouse stops working?
Replace the batteries if necessary. If the receiver is still not functioning, try reinstalling it in the USB port. You can alternatively opt to uninstall and reinstall the software.
If your mouse still doesn’t work following this operation, you’ll have to get a new one.
6. Is the mouse still malfunctioning?
It’s possible that your cursor isn’t moving even though you’ve finished all the steps. Ensure that the mouse is turned on by pressing the bottom button.
Furthermore, check to see if the mouse is charged, whether there are batteries in the mouse, and if the plastic from behind the batteries has been removed. Restarting the machine or updating the version of your operating system can also help.

Espen
Espen is the Director of ProPairing and has written extensively about Bluetooth devices for years. He is a consumer product expert and has personally tested Bluetooth devices for the last decade.

